First Leathercraft Tools: What You Actually Need
Quick answer: The tools you actually need for leathercraft cover five processes: cutting, marking, punching, stitching, and edge finishing. A snap-off knife, metal ruler, pricking iron, mallet, harness needles, waxed thread, glue, edge beveller, and a burnishing product will cover all of these. Everything else can wait until you have learned those basics and know exactly what you need next.
The leathercraft tool market can be confusing for anyone starting out. There are dozens of tools available, starter kits that claim to have everything, and very little guidance on what actually matters first. This guide breaks it down by workflow — the order things happen on the bench — rather than by shopping list.
Cutting tools
You need something to cut straight lines cleanly and something to cut curves without tearing — see our full cutting and skiving range. For most beginners, a good quality snap-off knife (18mm) is the practical starting point. It is affordable, replacement blades are easy to keep, and a fresh blade cuts vegetable-tanned leather well.
A dedicated pattern knife or leathercraft knife comes later, once you understand what you need from a cutting tool. A rotary cutter is useful for long, straight cuts on thinner leather — particularly straps — but it is not a first purchase for most beginners.
Whatever you cut with, the blade must be sharp. Cutting leather with a dull blade is one of the fastest ways to produce poor work.
Marking and measuring
A metal ruler or straight edge is essential — browse our marking and measuring tools. Everything else — wing dividers, edge markers, stitching groovers — can come later. In the early stages, a ruler, a silver pen or wing divider, and a consistent measuring habit will cover most marking needs.
Hole punching and pricking
Making clean, consistent stitch holes is one of the most important skills in hand leatherwork, and the tool you use matters. A pricking iron — sometimes called a stitching iron — is the standard method. It marks the stitch spacing into the leather, and the holes are opened fully with an awl before stitching.
The spacing of your pricking iron affects the look of the finished stitch line. Finer spacing (around 3–3.5mm) suits small goods and finer leather. Wider spacing suits heavier leather and more structural work. For most beginners, a mid-range spacing works well across a range of projects.
You will also need a maul or mallet to drive the iron through the leather. A wooden or nylon mallet works, but a proper leather maul gives better control and is quieter on the bench.
Stitching
Harness needles — blunt-tipped, curved-eyed needles designed for leather — are used in pairs for saddle stitching. John James saddlers harness needles are a reliable standard; size 002 suits most general work, and size 004 handles heavier thread and thicker leather.
Thread should suit the leather and the stitch spacing. Waxed polyester thread is durable, does not rot, and is easy to work with. A 0.55mm thread is well suited to finer small-goods work; 0.65mm suits slightly heavier projects. Thread comes pre-waxed from most reputable suppliers, which helps it run smoothly through the leather.
Adhesives
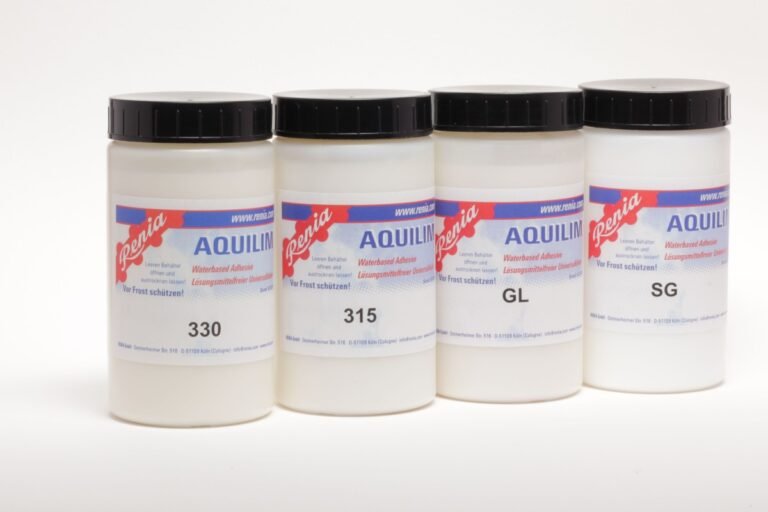
Glue is used to hold layers of leather together before stitching, and sometimes as a permanent bond on its own. For hand stitched work, the glue mainly needs to hold position while you sew. Renia Aquilim contact adhesives are a professional-grade option and suit most leathercraft work well. Leathercraft cement is a simpler, more accessible choice for beginners starting out.
Edge finishing
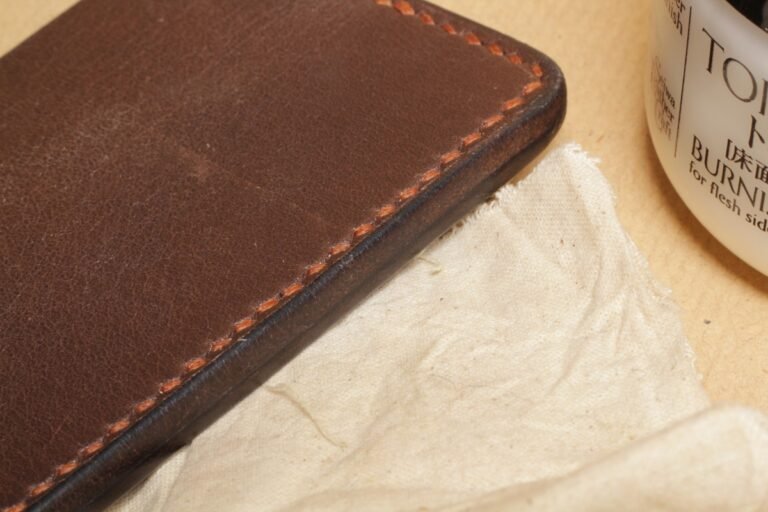
Before an edge is burnished, it needs to be clean, bevelled, and lightly sanded. An edge beveller removes the sharp corner from the cut edge — this is what allows the fibres to compress into a rounded, smooth finish. Without bevelling first, burnishing is harder and the result is less consistent.
A burnishing product — such as Tokonole or Gum Tragacanth — is applied to the prepared edge and worked in with a wooden burnisher or a dowel, using friction to compress and smooth the fibres.
What can wait
You do not need a stitching groover, edge creaser, skiver, or arbor press for your first projects. These are useful tools, but they solve problems you have not encountered yet. A wing divider is the one exception worth adding early — it scribes a consistent stitch line that follows the edge of the piece, and most makers only realise how much it matters after a run of stitching has already gone slightly off. Beyond that, learn the core process first. The gaps in your bench will become obvious soon enough, and when they do, the right tool to fill them will be much clearer.
Frequently asked questions
What is the most important leathercraft tool?
A quality pricking iron is arguably the most critical first tool for hand leathercraft. It sets the stitch spacing, and stitch hole consistency affects the look of everything you make. A poorly made pricking iron leaves ragged holes that no amount of careful stitching will fix.
Do you need expensive tools to start leatherworking?
You do not need expensive tools, but you do need tools that are properly made. There is a meaningful difference between a well-made pricking iron and a cheap one, and that difference shows directly in your work. Spend on the tools you use most; delay buying tools you have not yet needed.
What tools do I need to hand stitch leather?
To hand stitch leather you need a pricking iron (to mark hole spacing), a mallet (to drive the iron), harness needles in pairs, and waxed thread. An awl is used to open the holes fully before stitching. A stitching pony to hold the work is helpful but not essential from the first session.
Can I use regular sewing thread for leatherwork?
Regular sewing thread is not suitable for hand stitching leather. It is too fine, often untreated, and will not hold up to the tension required or the abrasion from the leather edge. Use waxed polyester or waxed linen thread designed for leathercraft.