Complete Guide to Traditional Saddle Stitching
Saddle stitching is the foundation of traditional leatherwork.
Before focusing on technique, it’s worth understanding how leather choice and thickness affect the seam — see our guide on the traditional approach to hand stitching leather.
Before machines, every strap, saddle and case was stitched by hand. Properly executed saddle stitching is not decorative — it is structurally superior. If one stitch fails, the rest of the seam remains secure.
This is why it remains the standard for serious leathercraft.
What Is Saddle Stitching?
Saddle stitching uses:
- Two needles
- One continuous thread
- A locking stitch formed in each hole
Each needle passes through the same hole from opposite sides. The thread locks in the centre of the leather, creating strength that machine stitching cannot replicate.
If a machine stitch breaks, the seam can unravel.
If a saddle stitch breaks, the seam holds.
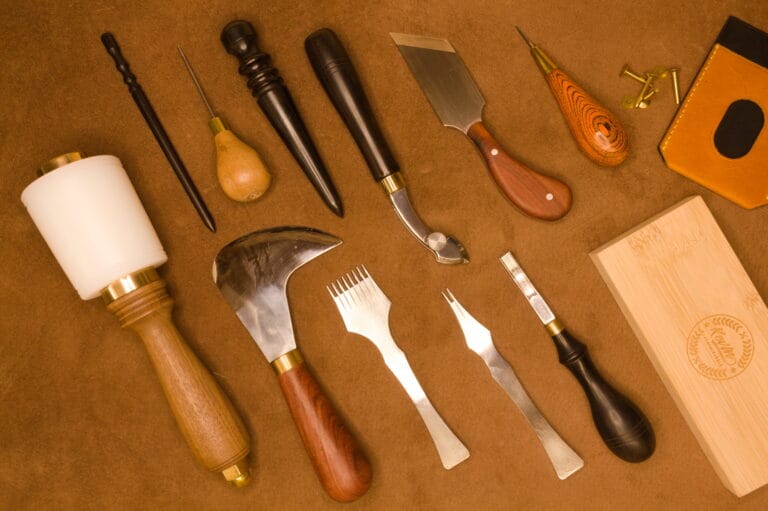
Tools Required
Good stitching begins with correct preparation.
You will need:
Stitching or pricking irons – for consistent spacing
Awl (traditional method) – to open the hole as you stitch
Harness needles – blunt tipped
Waxed thread – linen (traditional) or polyester (modern)
Stitching pony – to hold the work securely
Consistency in spacing and tension matters more than brand, but quality tools make control easier.
Preparing the Stitch Line
- Mark a stitch line with a wing divider.
- Use irons to create evenly spaced marks or holes.
- If working traditionally, open each hole with the awl as you stitch rather than punching fully through.
The angle of the hole determines the angle of the stitch.
Preparation defines the final result.
Thread Length and Setup
Cut thread approximately 3.5–4 times the seam length.
Attach a needle to each end.
Lock the thread by piercing the tail and pulling tight.
This prevents slippage and keeps tension consistent.
The Stitching Method
Place the work in a stitching pony.
For the first stitch:
- Pass one needle through the first hole.
- Centre the thread.
For each stitch thereafter:
- Pass the front needle through the hole.
- Before tightening, pass the rear needle through the same hole from the opposite side.
- Pull both threads evenly.
Maintain consistent tension and a consistent pull direction.
Do not rush.
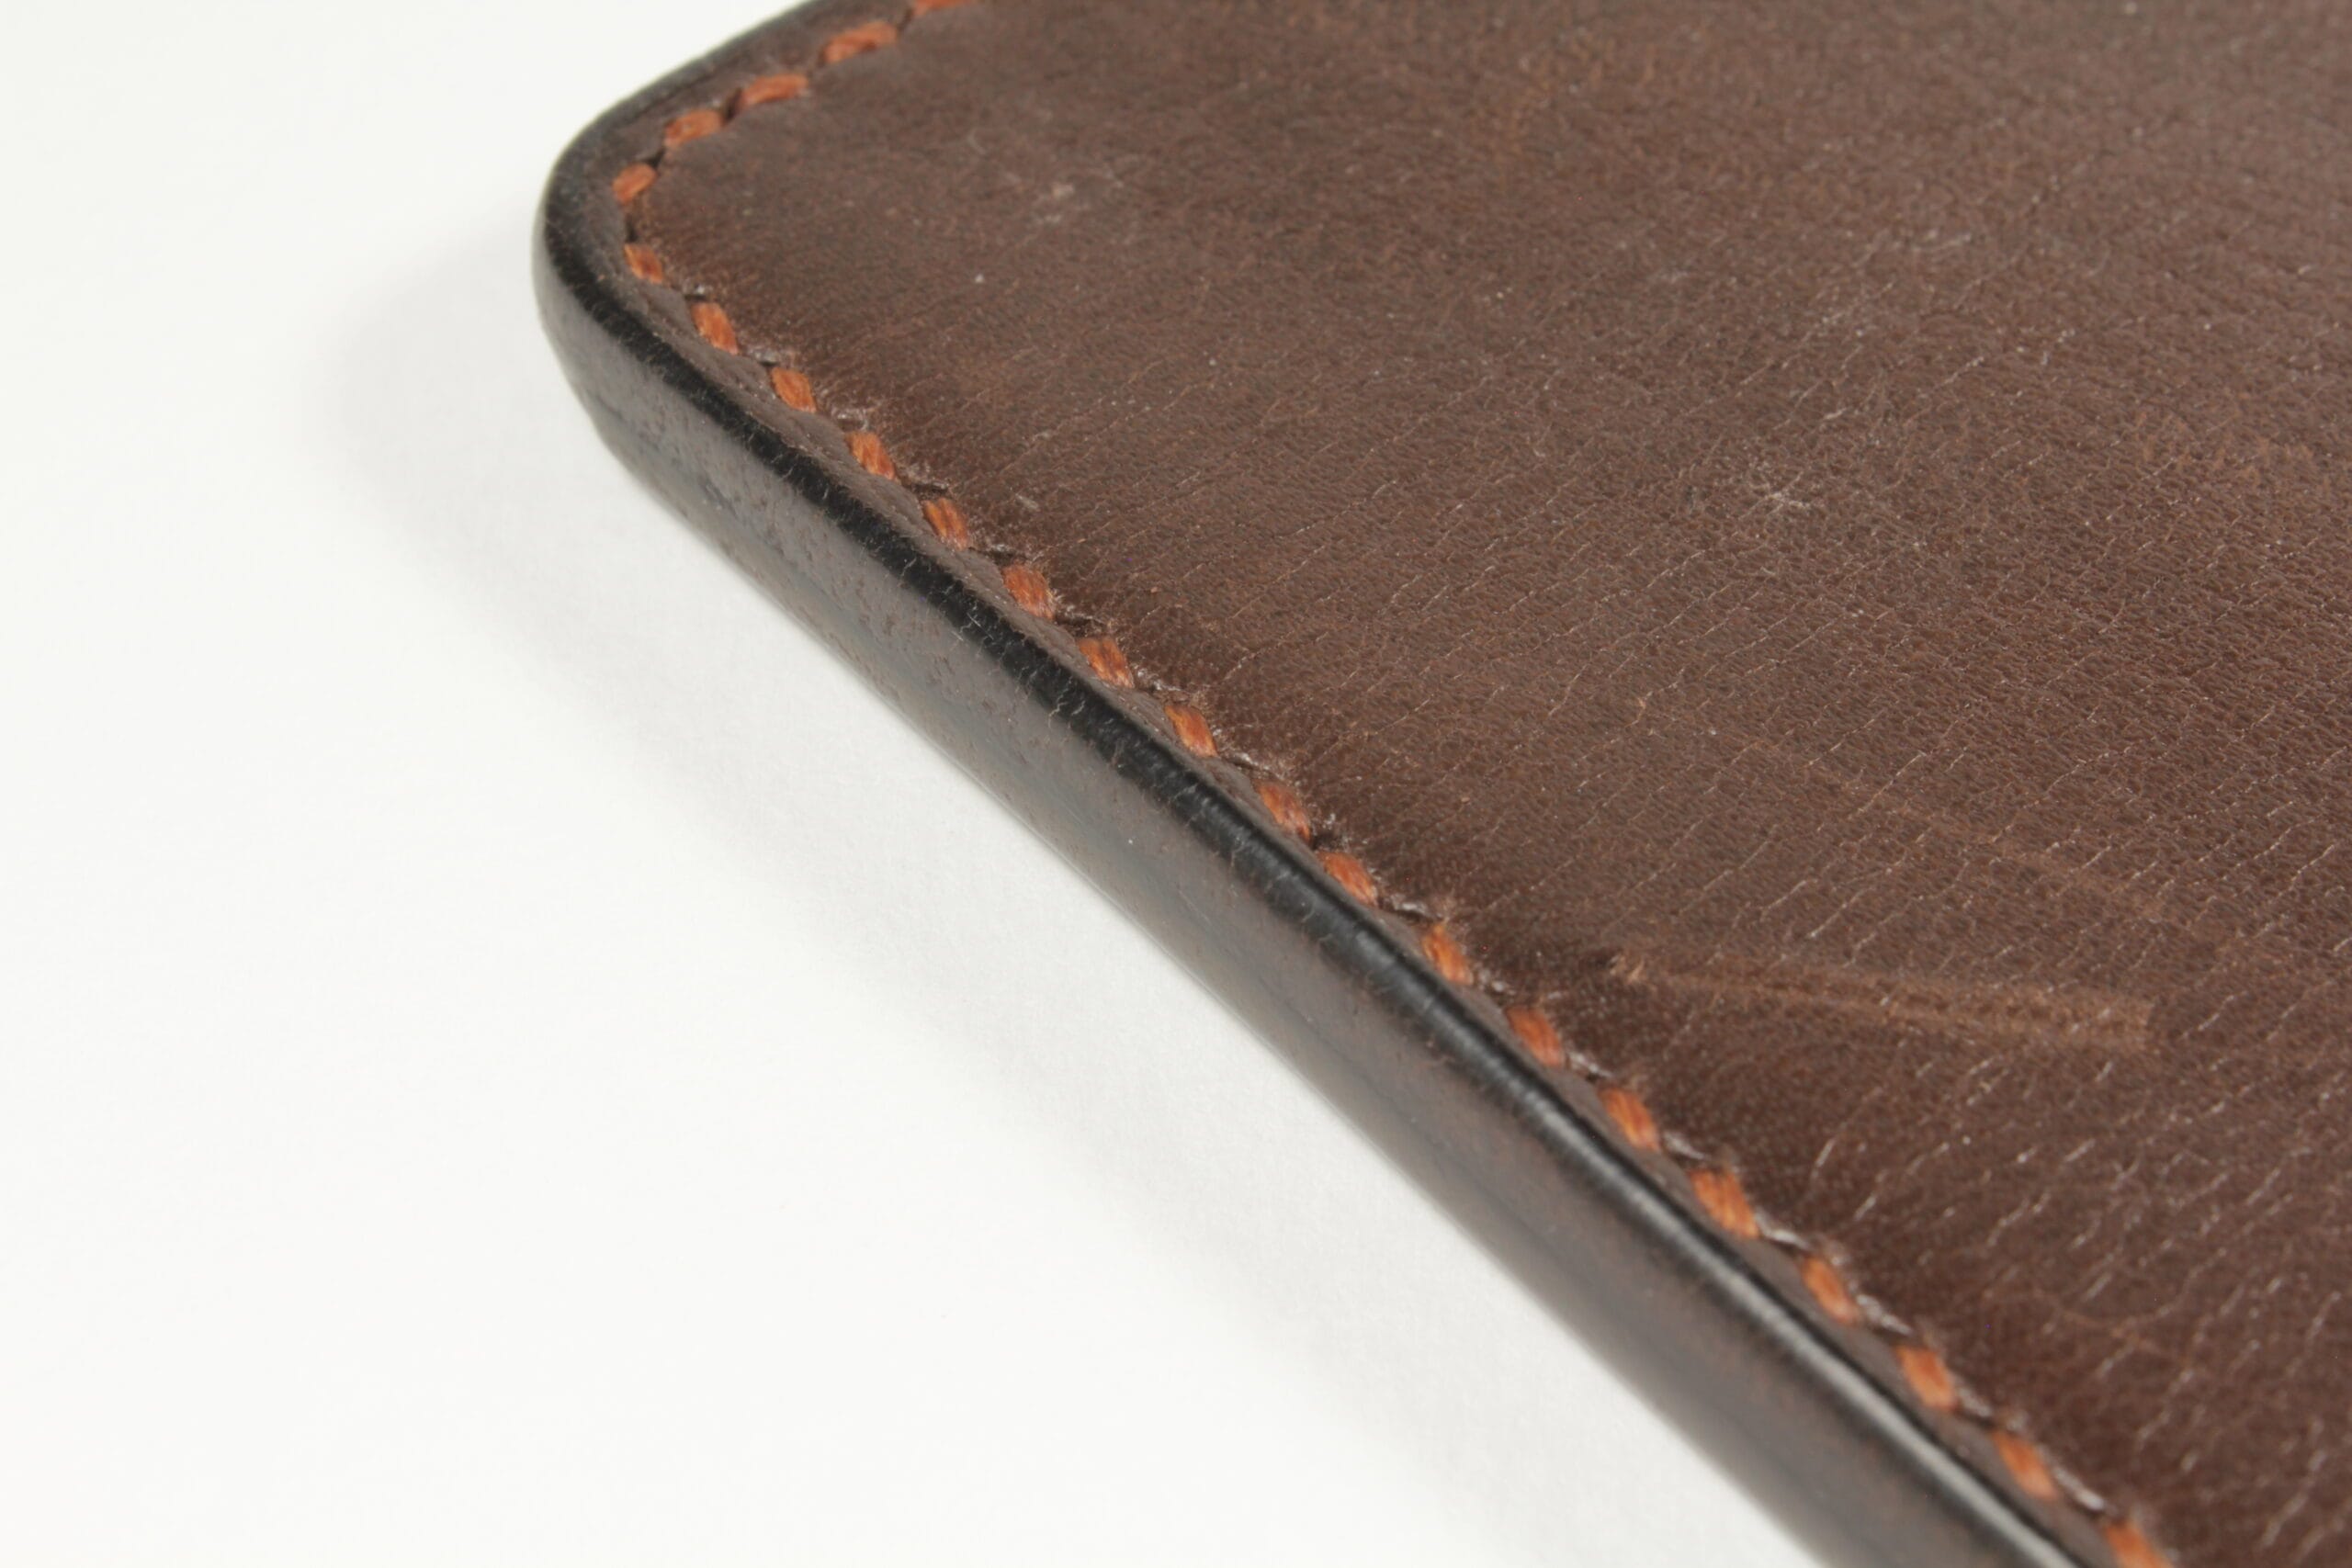
The stitch should form a clean, uniform slant across the seam.
When it comes to understanding hand position and tension control, written explanation only goes so far. The clearest visual reference remains the saddle stitching demonstrations by Nigel Armitage. His breakdown of needle order, tension and stitch angle is widely regarded as the benchmark for learning proper technique.
Recommended viewing:
Use them as visual reinforcement alongside practice.
Finishing the Seam
To secure the seam:
- Backstitch 2–3 holes.
- Trim the thread close.
- For polyester thread, lightly melt and press.
- For linen, trim and set with a hammer.
A proper finish should be secure but unobtrusive.
Linen vs Polyester
Linen is traditional and historically accurate.
Polyester offers superior resistance to moisture and abrasion.
For restoration of older pieces, linen is appropriate.
For modern everyday goods, polyester performs exceptionally well.
Both are valid choices. Consistency and execution matter more than material.
Common Errors
- Uneven tension
- Piercing the thread with the second needle
- Inconsistent pull direction
- Rushed stitching
Saddle stitching rewards rhythm and control. Speed comes later.
Why It Still Matters
Machine stitching is efficient.
Saddle stitching is deliberate.
It allows control over tension, spacing and finish. It is slower, but it produces a seam that reflects the hand of the maker.
For belts, straps, wallets and structural goods, it remains the most reliable method available.
Final Notes
Mastery comes through repetition.
Practice on scrap leather.
Focus on spacing.
Focus on tension.
Study experienced makers.
Return to the bench and repeat.
That is how traditional leatherwork has always been learned.